Dec
07
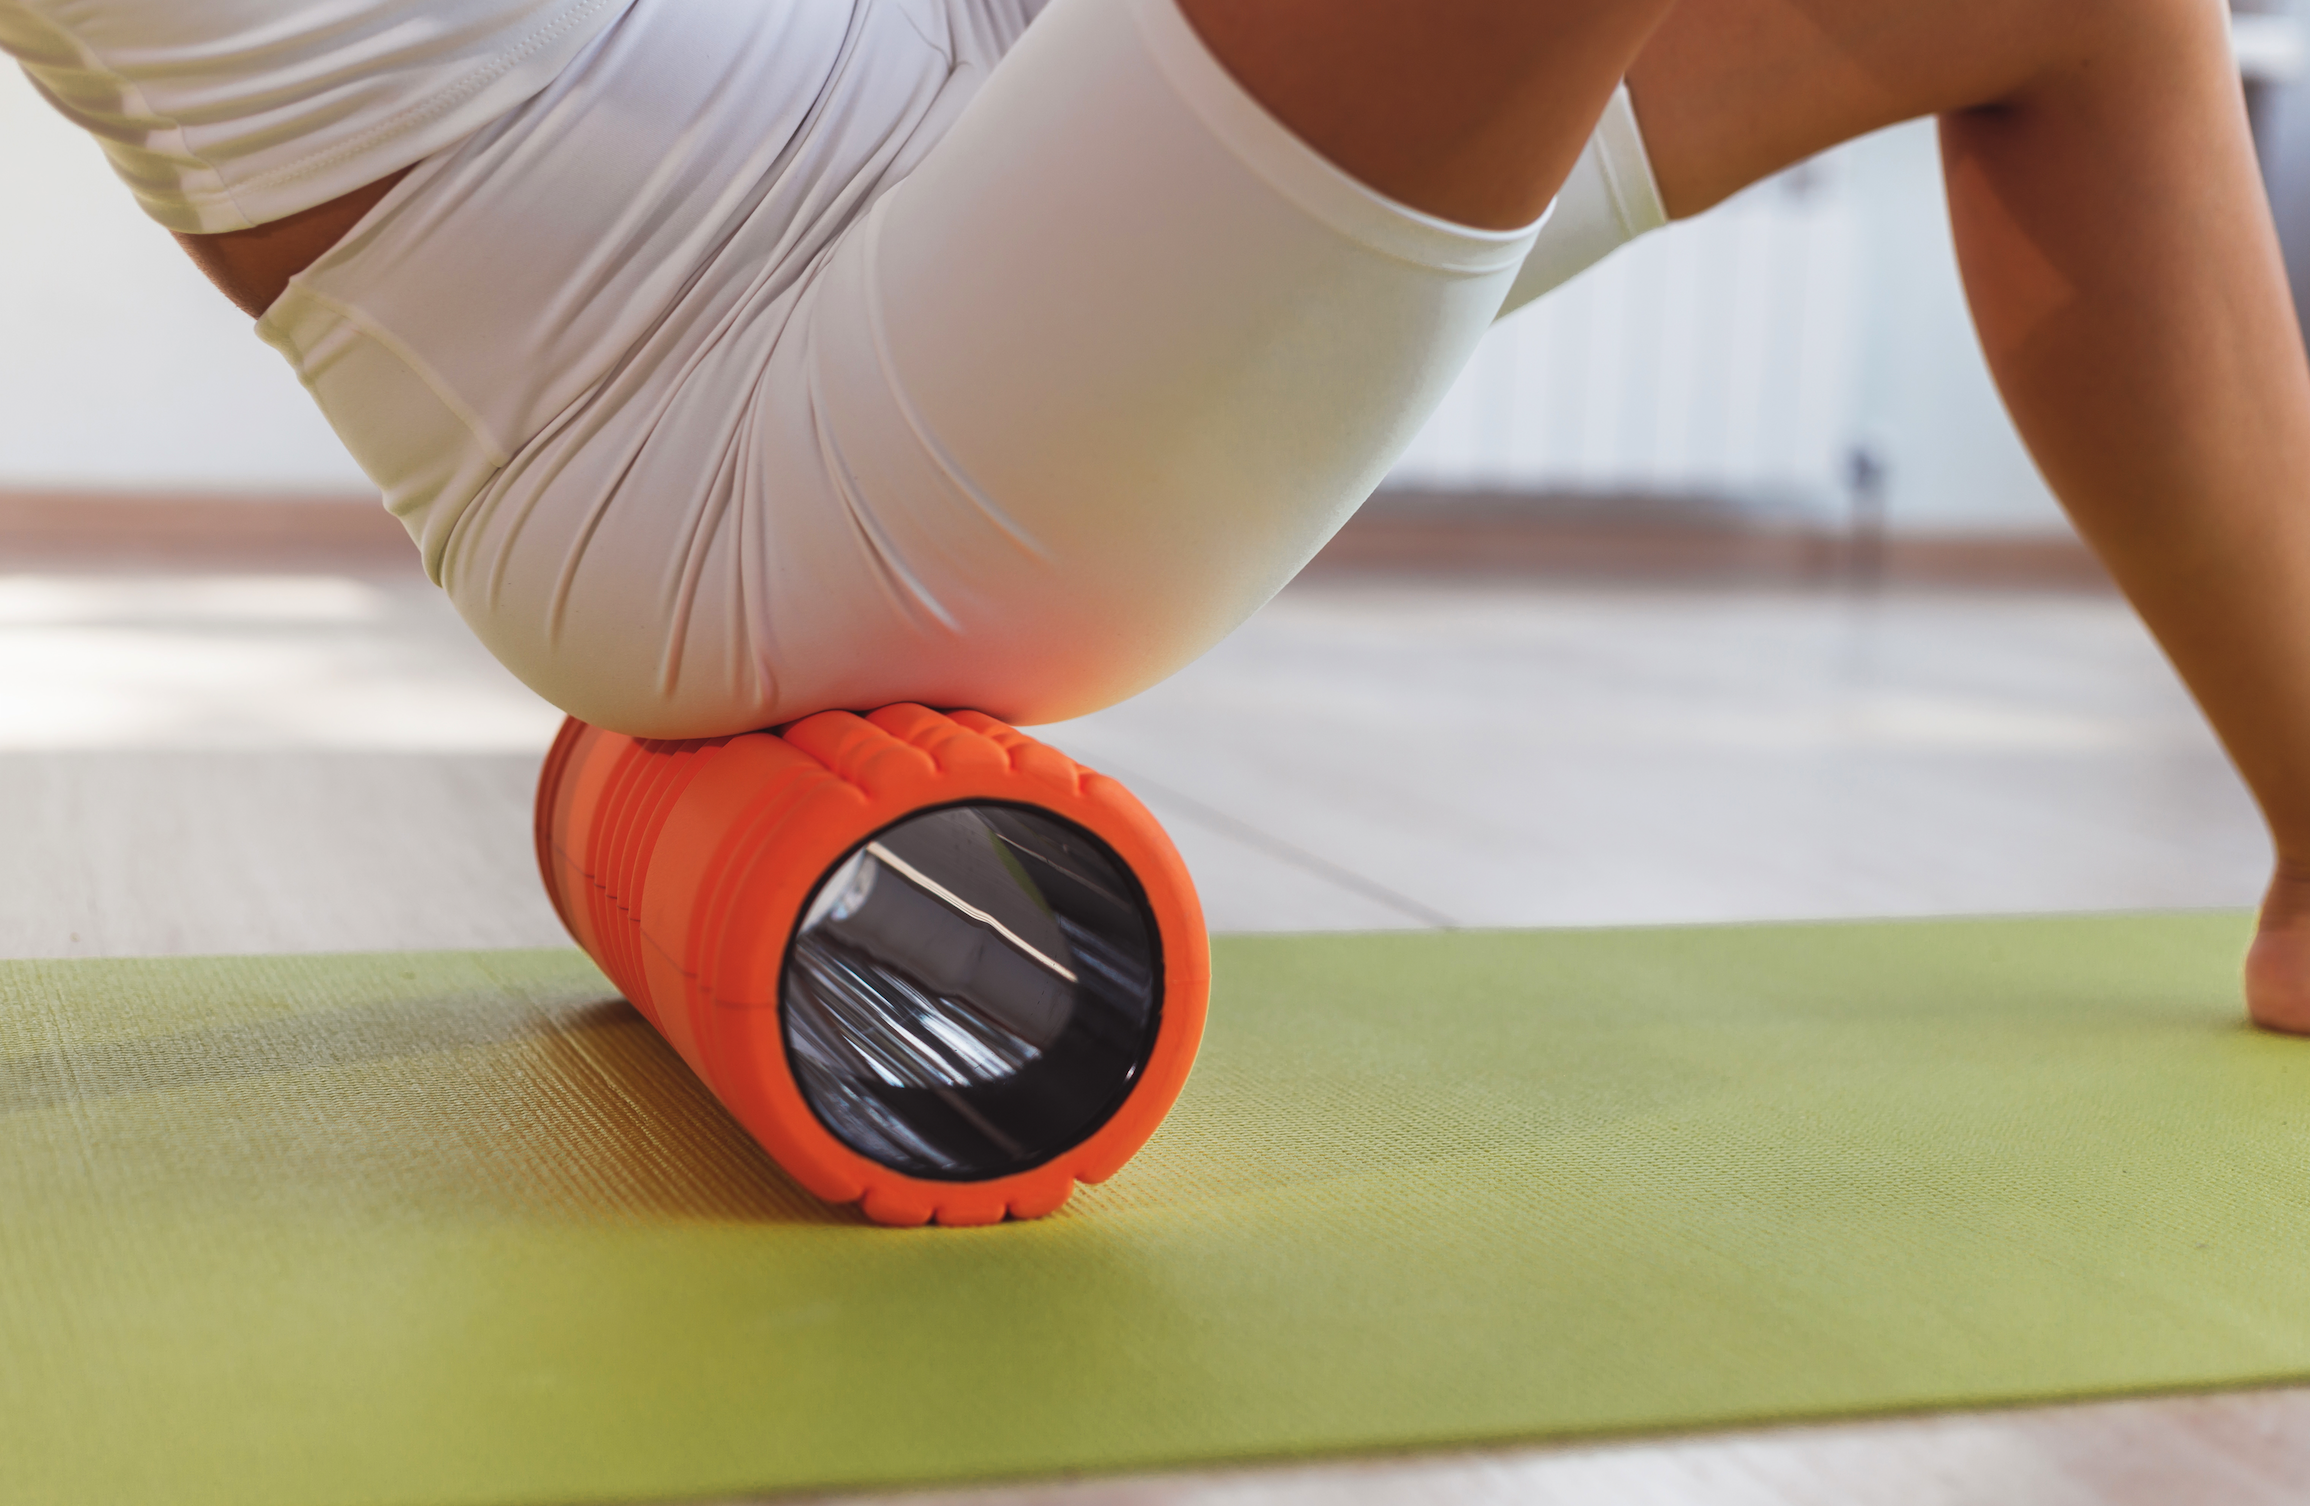
Foam Rolling Techniques
Foam rolling is a type of Self-Myofascial Release (SMR) that aims at increasing blood blow and breaking down adhesions and scar tissue to help relieve aches and pains. Foam Rolling is also great for supporting – or correcting – your posture. You may have found that over time you’ve developed ‘tech neck’ or ‘rounded shoulders’, which could very likely be the source of that annoying ache or clunky stiffness youare feeling. If that sounds like you, it’s time to have a go at foam rolling!
TIPS FOR FOAM ROLLING BEGINNERS:
- Start with light pressure and build up as you get used to the feeling of foam rolling. You may find it painful at first if your muscles are tight, but this will subside. To adjust pressure, use your limbs to support yourself and reduce the amount of body weight you’re putting onto the roller.
- Take deep breaths throughout, especially when you know a tender area is coming. Breathe in deep through the nose, place pressure through the area, then breathe out through the mouth.
- Be slow and controlled – don’t roll too quickly. Instead, hover over a tender area for 10-30 seconds or until you feel a release.
- Slowly roll over tender areas for 10 seconds to start, then work up to 30 seconds at a time.
- Drink plenty of water before and after foam rolling to help with recovery.
FIVE EASY FOAM ROLLING AREAS FOR POSTURE AND PAIN:
(roll in each area for 30 seconds to two minutes)
1. HIP FLEXORS – to relieve hip pain and restore lower back posture
- Locate the ‘hip bones’ on the front of the pelvis (between the front of the pelvis and the very top of the thighs)
- Lie face down on the foam roller, supporting yourself with your elbows (as if in the plank position)
- Sink in slowly with minimal movement (do not roll higher than the ‘hip bones’ on the pelvis)
- Roll slowly over the tender area
2. HAMSTRINGS – to reset the ‘slump’posture caused by sitting for long periods
- Place the roller under the hamstrings (back of the thighs) and use your hands to support your weight
- Lift your hips slowly and roll over the length of the hamstrings (from above the knees to the sit bones)
3. GLUTES – to relieve lower back and hip pain
- Sit on the foam roller and support your body weight with your hands on the floor behind you and your feet flat on the floor
- Shift/roll back and forth over one glute at a time – you can bring your ankle to the opposite knee while rolling to intensify the release
4. SHOULDERS/LATS – to relieve shoulder pain and help with rounded-shoulder posture
- Lie on your side with your arm extended overhead (palm facing up) and place the roller under your arm
- Gently roll along the outside border of the shoulder blade, being careful not to go past the ribs
5. CHEST – to relieve neck and upper back soreness and reset shoulder and forward head posture
- Lie on the foam roller so that it is along your spine (ensure your head and lower back are supported)
- Slowly extend your arms to a ‘T’ position and hold for 30 seconds
- Extend to a higher, ‘Y’ position to increase the release
- Note: Bend your elbows or lower your arms if any tingling is felt and stop if tingling persists
This piece is from our latest GHE Magazine; click here to view the magazine in full.